이미지 블러 제거 - AI로 흐린 사진 복원
흐릿하고 초점이 맞지 않는 사진을 몇 초 만에 선명하고 깨끗한 이미지로 변환합니다. 무료로 시작하세요. 디자인 기술이 필요 없습니다.
흐린 이미지 선택
드래그 앤 드롭 또는 클릭하여 업로드
JPG, PNG, WEBP • 최대 10MB
또는 예시 시도
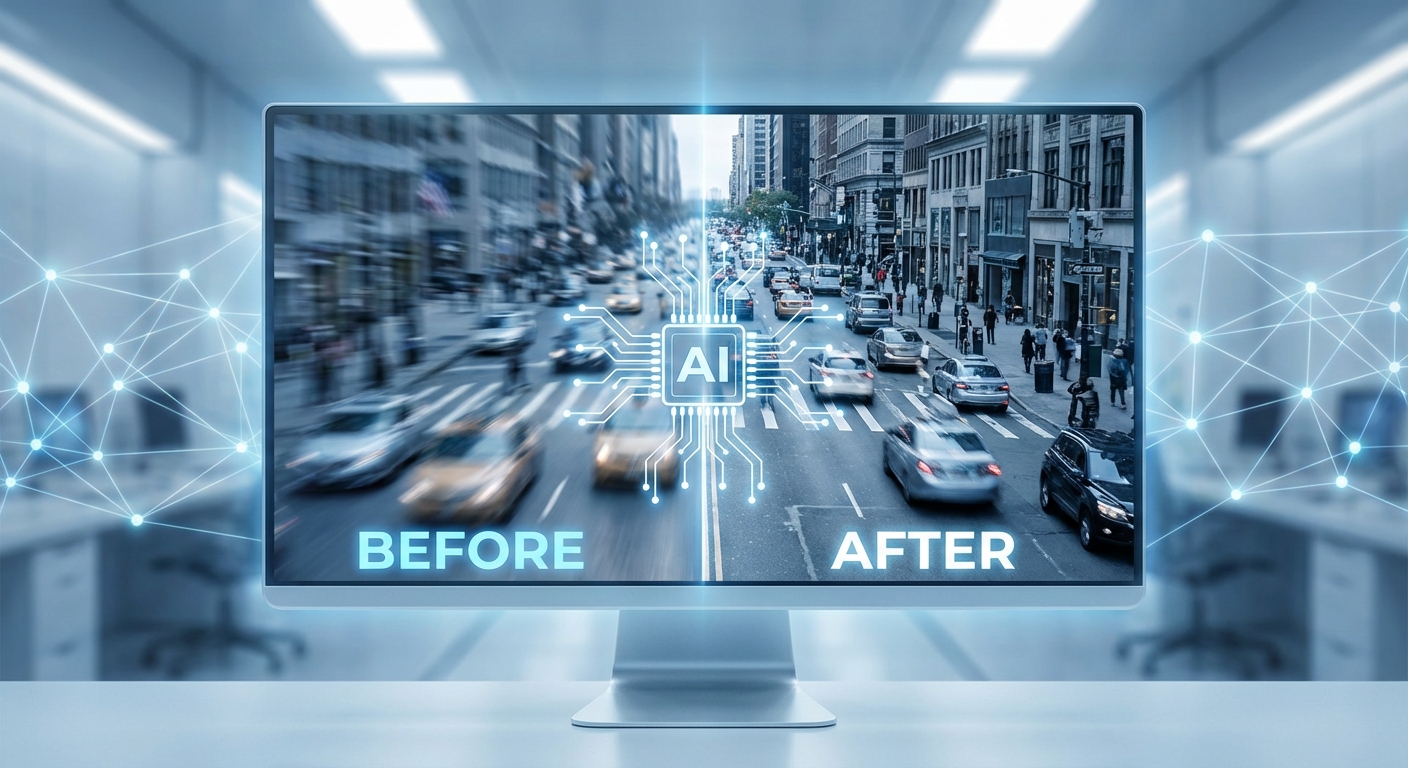
AI 기반 블러 제거로 선명함을 되찾으세요
고급 AI가 블러 패턴을 분석하고 손실된 선명한 디테일을 재구성합니다. 수백만 개의 이미지로 훈련된 Real-ESRGAN 기술을 사용하여 모션 블러, 초점 문제, 카메라 흔들림을 복원합니다. 단순한 샤프닝 필터와 달리, AI가 가려진 부분을 지능적으로 재구성하여 사진 본래의 선명함을 되찾아 드립니다.
무료로 블러 제거하기
영원히 잃었다고 생각한 디테일을 복구하세요
흐린 사진에는 종종 중요한 디테일이 숨겨져 있습니다—얼굴, 텍스트, 미세한 텍스처. AI는 단순히 가장자리를 선명하게 하는 것이 아니라 손실된 부분을 지능적으로 재구성합니다. 바래진 가족 사진부터 중요한 문서까지, 가장 중요한 선명도와 디테일을 복구합니다. AI가 픽셀 단위로 작업하여 인공적인 아티팩트 없이 자연스러운 선명함을 복원합니다.
지금 체험하기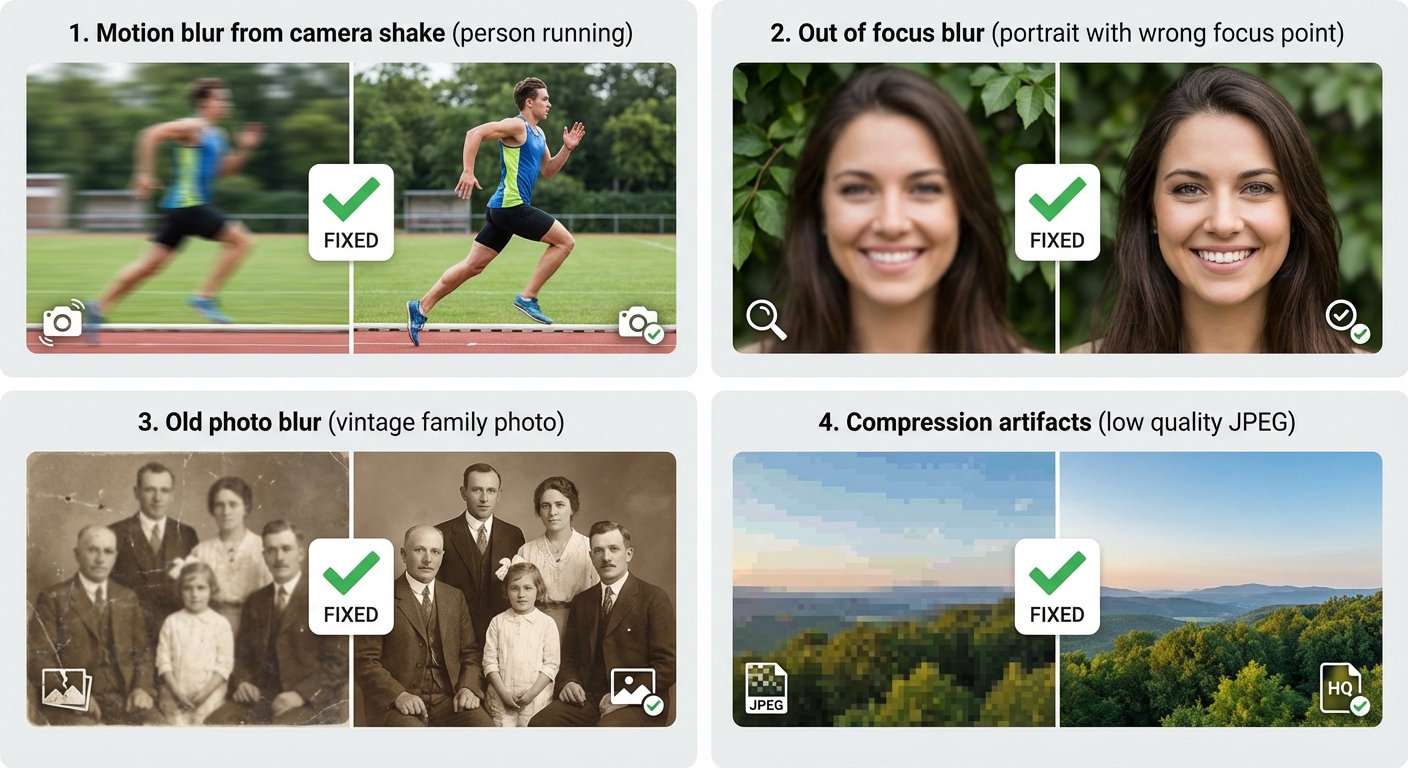
모든 유형의 블러에 효과적
다양한 블러 유형에는 다양한 솔루션이 필요합니다. AI가 전문적인 처리 기술로 모든 경우를 처리하도록 훈련되었습니다:
- 카메라 흔들림이나 움직이는 피사체로 인한 모션 블러
- 자동 초점 실패로 인한 초점 이탈 블러
- 손상된 인화물이나 스캔으로 인한 오래된 사진 블러
- 심한 JPEG 아티팩트로 인한 압축 블러
전문가 수준 결과, 무료로 시작
비싼 소프트웨어가 필요 없습니다. 복잡한 학습 곡선도 없습니다. 흐린 사진을 업로드하기만 하면 AI가 작업을 처리합니다. 무료로 가입하고 5 크레딧을 받아 마법을 경험하세요. 블러 제거는 2 크레딧을 사용합니다. 결과가 마음에 드시면(분명 그러실 겁니다), 업그레이드하여 더 많은 크레딧과 기능을 이용하세요.
무료로 시작하기3단계로 사진 블러 제거하기
AI 기반 도구로 흐린 사진을 수정하세요
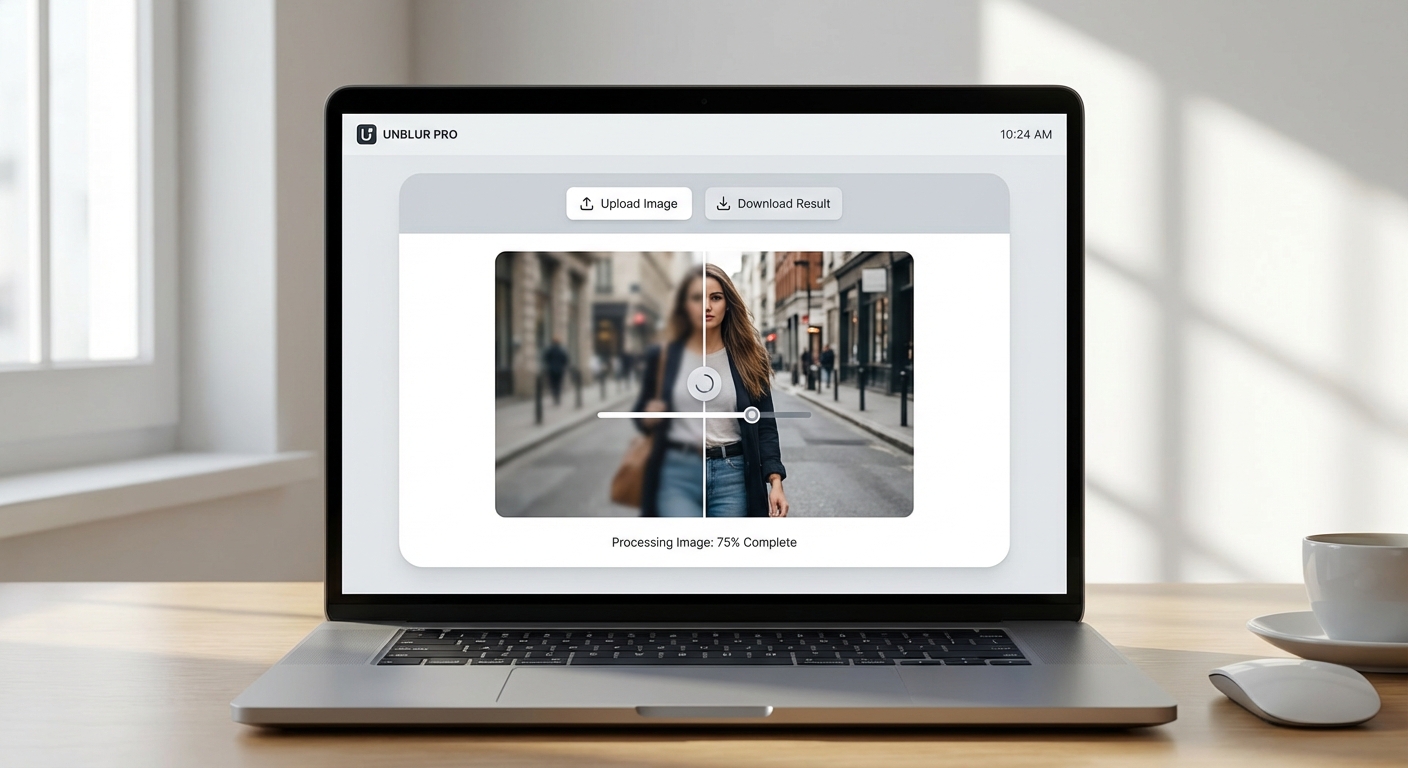
흐린 사진 업로드
JPG, PNG 또는 WebP 형식의 흐린 이미지를 업로드하세요. 최대 10MB까지 지원합니다.
AI 처리
AI가 블러 유형을 분석하고 약 12초 내에 선명한 디테일을 지능적으로 재구성합니다.
깨끗한 이미지 다운로드
PNG 또는 JPG 형식으로 선명하고 깨끗한 사진을 다운로드하세요. 바로 사용 가능합니다!
모든 흐린 사진에 완벽
모션 블러부터 오래된 사진까지, AI가 모든 유형의 블러를 처리합니다
모션 블러
카메라 흔들림이나 움직이는 피사체로 인한 사진을 수정합니다.
초점 흐림
카메라 초점이 맞지 않은 사진을 선명하게 합니다.
오래된 사진
빈티지 및 오래된 가족 사진의 선명도를 복원합니다. 소중한 추억을 선명한 디테일로 보존합니다.
휴대폰 카메라 블러
저조도 또는 빠른 촬영으로 인한 흐린 스마트폰 사진을 수정합니다.
스캔 문서
흐린 스캔 문서를 읽을 수 있게 만듭니다. 오래된 영수증과 서류에 완벽합니다.
스크린샷
프레젠테이션과 튜토리얼을 위해 흐리거나 픽셀화된 스크린샷을 향상시킵니다.
How Nano Banana 2 Compares to Other Image Unblurring Tools
See how our AI image sharpener compares to popular alternatives
Fixing blurry photos is a common need, and several tools offer AI-powered solutions. Here is how Nano Banana 2 Unblur Image compares to the most popular alternatives for image sharpening and restoration.
Nano Banana 2 vs Remini
Remini is a popular mobile app specializing in face enhancement and old photo restoration. It excels at faces but is less effective on landscapes, products, or general images. Remini's free tier adds watermarks and limits daily uses, while the Pro plan costs $9.99/month. Nano Banana 2 works equally well on all image types — faces, products, landscapes, and text — with no watermarks on any plan and a flexible credit system.
Nano Banana 2 vs Topaz Sharpen AI
Topaz Sharpen AI is a professional desktop application ($79.99 one-time) that offers advanced sharpening with motion blur, out-of-focus, and softness correction modes. It produces excellent results but requires downloading software and has a steep learning curve with many parameters to adjust. Nano Banana 2 delivers comparable sharpening quality through a simple web interface — upload and download, no installation or configuration needed.
Nano Banana 2 vs VanceAI
VanceAI offers AI-powered image sharpening alongside other enhancement tools. Its free tier is limited to 3 credits per month and produces lower-resolution output. Premium plans start at $9.99/month. Nano Banana 2 provides generous free credits to start and offers full-resolution output from day one. Both tools use AI-based sharpening, but Nano Banana 2 combines unblurring with detail enhancement in a single step for better overall results.
Nano Banana 2 Unblur Image uses advanced AI to restore sharpness and detail to any blurry photo. No downloads, no watermarks, no subscriptions — just clear, sharp images in seconds.
Tips & Best Practices for Unblurring Images
Get the sharpest results from our AI image sharpener with these expert tips
Start with the Best Available Source
Even though our AI can enhance blurry images, starting with the highest quality version available gives better results. If you have multiple copies of a photo, use the one with the largest file size and resolution as your starting point.
Understand Your Blur Type
Different types of blur respond differently to AI sharpening. Motion blur (camera shake) and slight out-of-focus blur recover best. Heavy gaussian blur or intentional artistic blur may not fully resolve. Knowing what caused the blur helps set realistic expectations.
Prevent Blur at the Source
The best fix for blurry photos is preventing them. Use a tripod, brace against a wall, or enable optical image stabilization. In low light, increase ISO or use a wider aperture rather than slower shutter speeds. Prevention is always better than correction.
Well-Lit Photos Recover Better
Blurry photos taken in good lighting conditions recover much better than dark, blurry photos. The AI has more detail to work with when the image has adequate exposure. If possible, brighten the image slightly before running the unblur process.
Crop Before Processing
If only part of your image is blurry, or if you only need a specific area to be sharp, crop the image first and process just that portion. This focuses the AI's enhancement on the area that matters and can produce sharper results.
Consider Multiple Enhancement Passes
For severely blurry images, running the enhancement twice can improve results. Process the image once, download the result, and then process it again. The second pass often recovers additional detail that the first pass revealed.
Compare Before and After Carefully
Always compare the enhanced image with the original at 100% zoom. Check that important details like text, faces, and edges have been genuinely sharpened without introducing artifacts. Sometimes AI sharpening can create unnatural-looking edges.
Always Keep Your Original File
Never replace your original blurry photo. Keep it as a backup in case you want to re-process it with different settings later. AI models improve over time, and future processing may produce even better results from the same source image.
Explore More AI Tools
Discover our complete suite of AI photo editing tools
자주 묻는 질문
AI 블러 제거 도구에 대해 알아야 할 모든 것
흐린 사진을 수정할 준비가 되셨나요?
무료로 시작하세요. 신용카드가 필요 없습니다. 가입하면 즉시 5개의 무료 크레딧을 받습니다.
Built by NanoBanana2 — explore all free AI image tools.